

Integrations
Web-call widget
في هذه الصفحة
The Web-Call Widget adds a click-to-call button to any website so visitors can talk to your agent live, right in their browser. No phone number required and no downloads visitors click the button, allow microphone access, and start a voice conversation instantly.
Creating a widget
Open Studio → Plugins → Widgets and create a new widget. Setup happens in two steps: Basics and Call panel.
Step 1: Basics
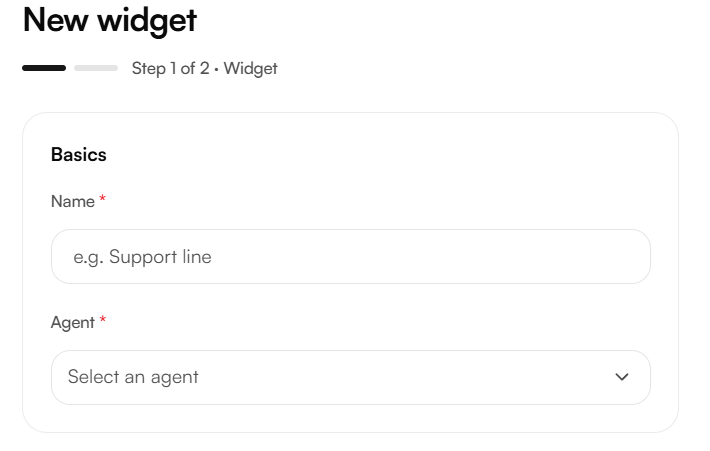
Field | Description |
|---|---|
Name | A label to recognize this widget later not shown to visitors |
Agent | The agent that answers calls started from this widget |
Appearance
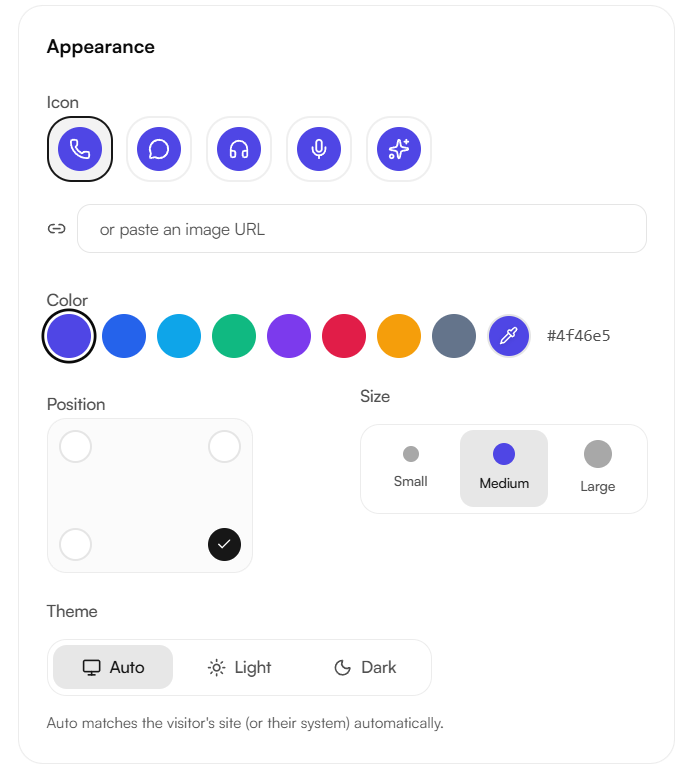
Sets how the call button itself looks on the page.
Setting | Options |
|---|---|
Icon | Phone, chat, headset, mic, or a custom image URL |
Color | Preset palette or a custom hex color |
Position | Any corner of the page |
Size | Small, medium, large |
Theme | Light, dark, or Auto |
Tip: Auto matches the visitor's site or system theme automatically the safer default for sites with both light and dark modes.
Allowed origins
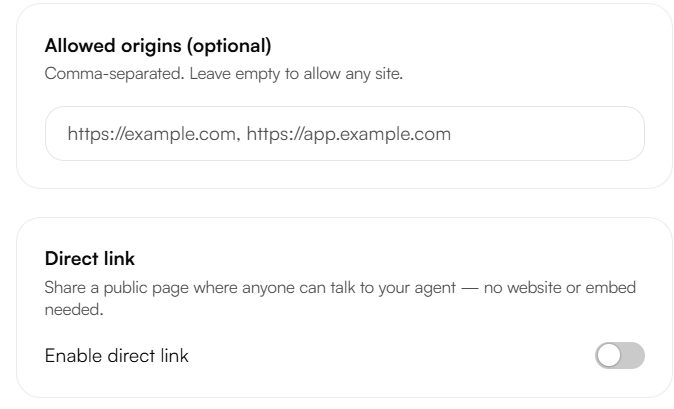
Allowed origins restricts which websites can load the widget. Enter a comma-separated list of URLs. If left empty, the widget runs on any site it's embedded in.
Warning: Set allowed origins before going live on a production site otherwise the same embed snippet could be copied and run on any website.
Direct link
Turning on Direct link generates a public hosted call page for this widget a page anyone can open to talk to the agent, with no website or embed needed. Useful for sharing a call option before a site exists, or as a fallback link in emails, social bios, or WhatsApp messages. See Direct Link for more details.
Customizing the call panel
Step 2 designs the window that opens when a visitor starts a call.
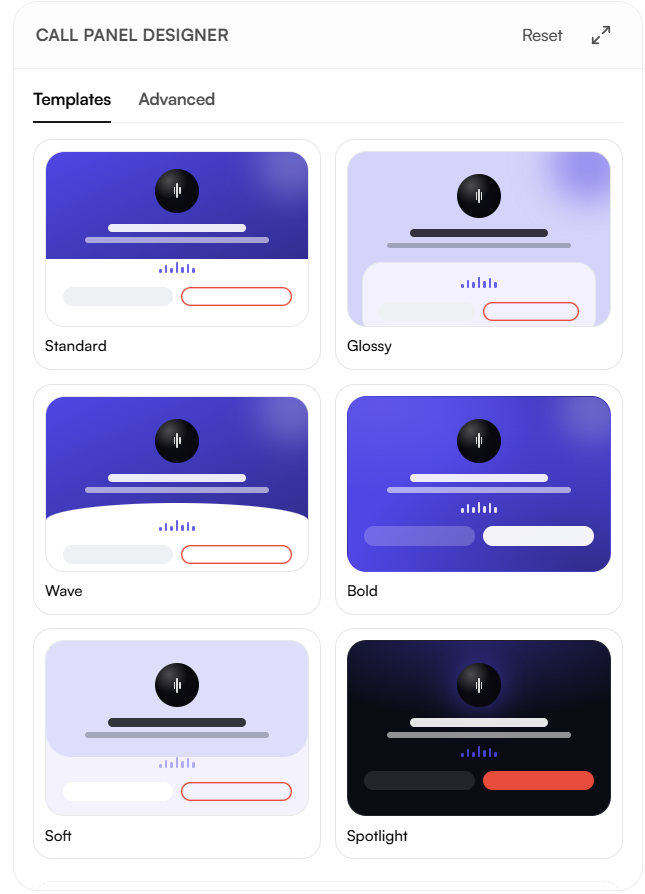
Templates
Six ready-made styles Standard, Glossy, Wave, Bold, Soft, and Spotlight cover most cases without further tuning. Selecting one updates the live preview immediately.
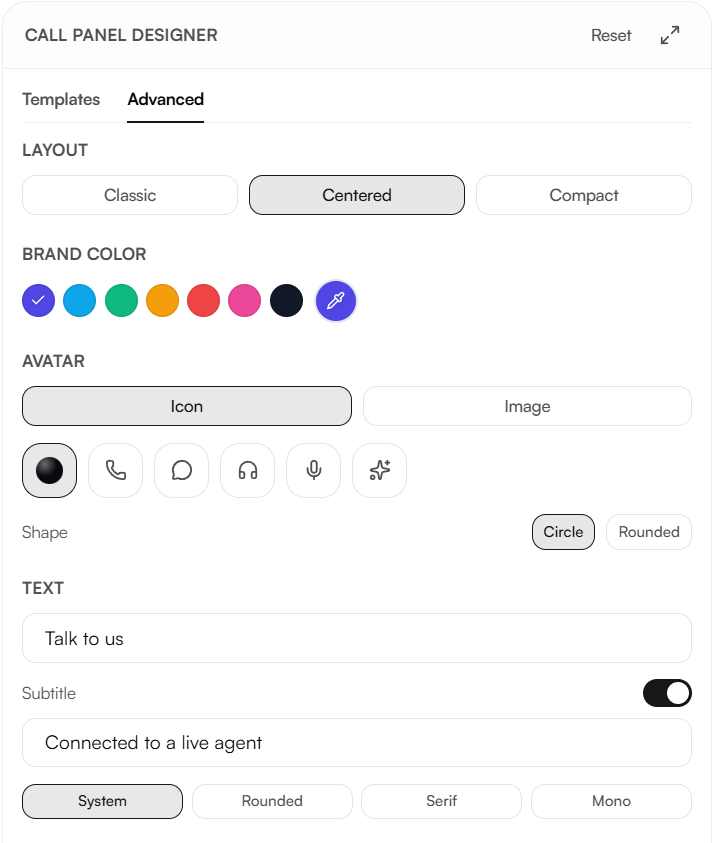
Advanced
For finer control, the Advanced tab exposes every element individually:
Group | Controls |
|---|---|
Layout | Classic, Centered, or Compact |
Brand color | Preset palette or custom hex |
Avatar | Icon or image, with circle or rounded shape |
Text | Title, subtitle (optional), and font style — System, Rounded, Serif, or Mono |
Status indicator | Dot, Orb, or Bars can be hidden entirely |
Buttons | Mute and end-call labels, Solid or Soft style, end-button color |
Panel | Button radius, panel width, corner radius, shadow, background |
The preview reflects every change instantly what you see is exactly what visitors see.
Adding the widget to Your site
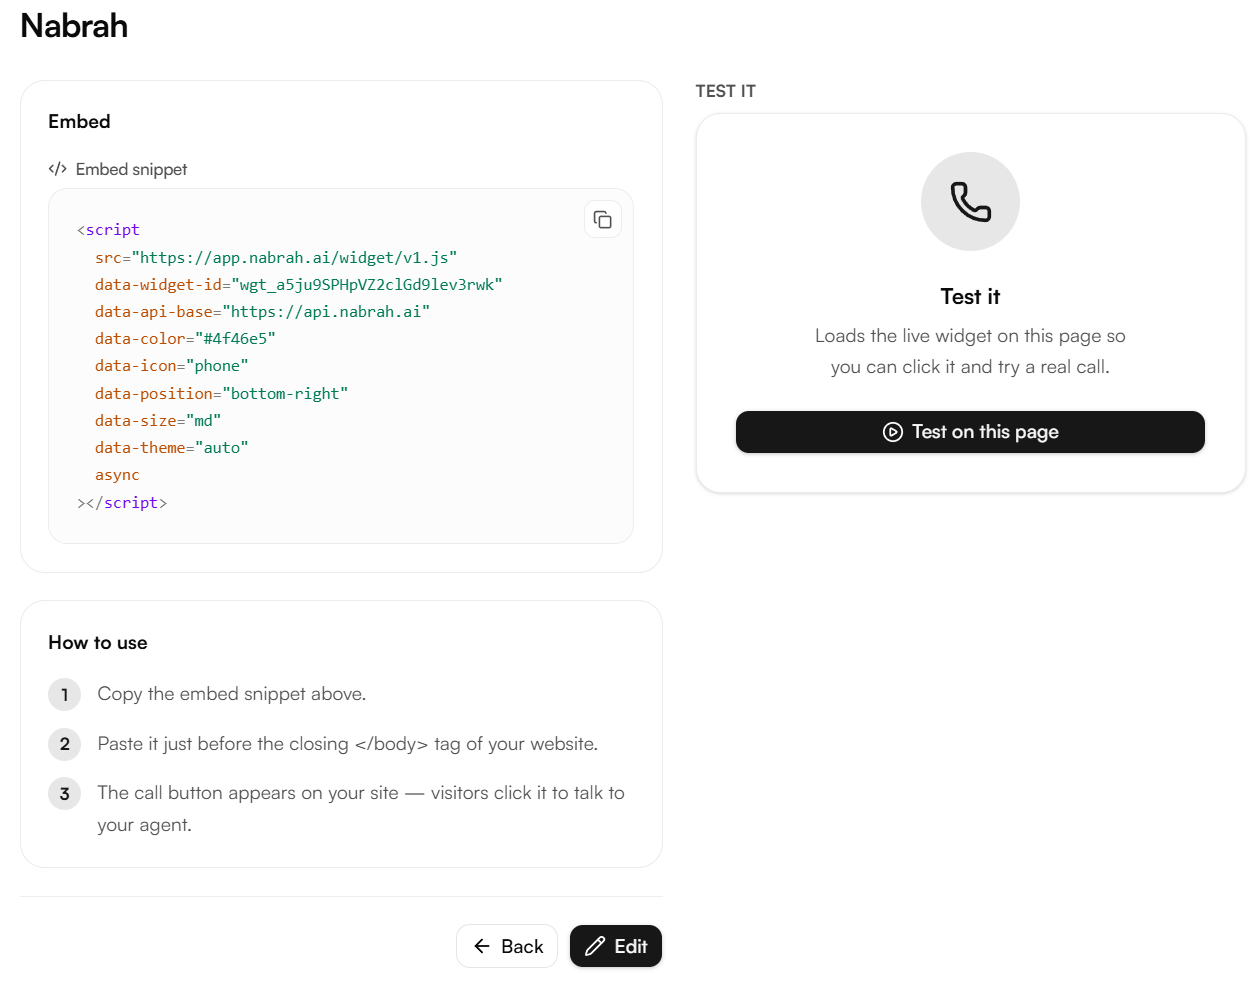
Once the widget is created, Nabrah generates an embed snippet. Copy it and paste it just before the closing </body> tag on your page.
<script
  src="https://app.nabrah.ai/widget/v1.js"
  data-widget-id="wgt_a5ju9SPHpVZ2clGd9lev3rwk"
  data-api-base="https://api.nabrah.ai"
  data-color="#4f46e5"
  data-icon="phone"
  data-position="bottom-right"
  data-size="md"
  data-theme="auto"
  async
></script>
The call button appears on your site automatically no further setup needed.
Note: Each setting configured in Appearance and the Call Panel Designer is encoded into the snippet's data attributes. If you edit the widget later and change its appearance, copy the updated snippet and re-embed it on your site.
During a call
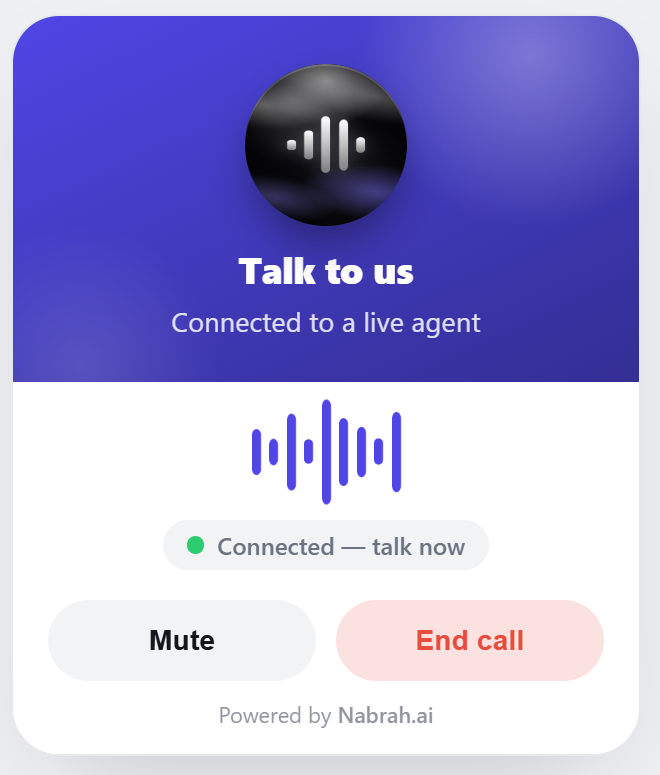
When a visitor starts a call, they see live status, a mute button, and an end-call button. The conversation runs on the selected agent, so everything it knows answers, variables, and follow-ups works the same as on any other channel.